


Astrophotography 101: How to capture star trails
Photographers love to capture star trails because the concentric circles and arcs add movement and energy to their images, transforming static scenes into compelling ephemeral stories that bring the night sky to life.
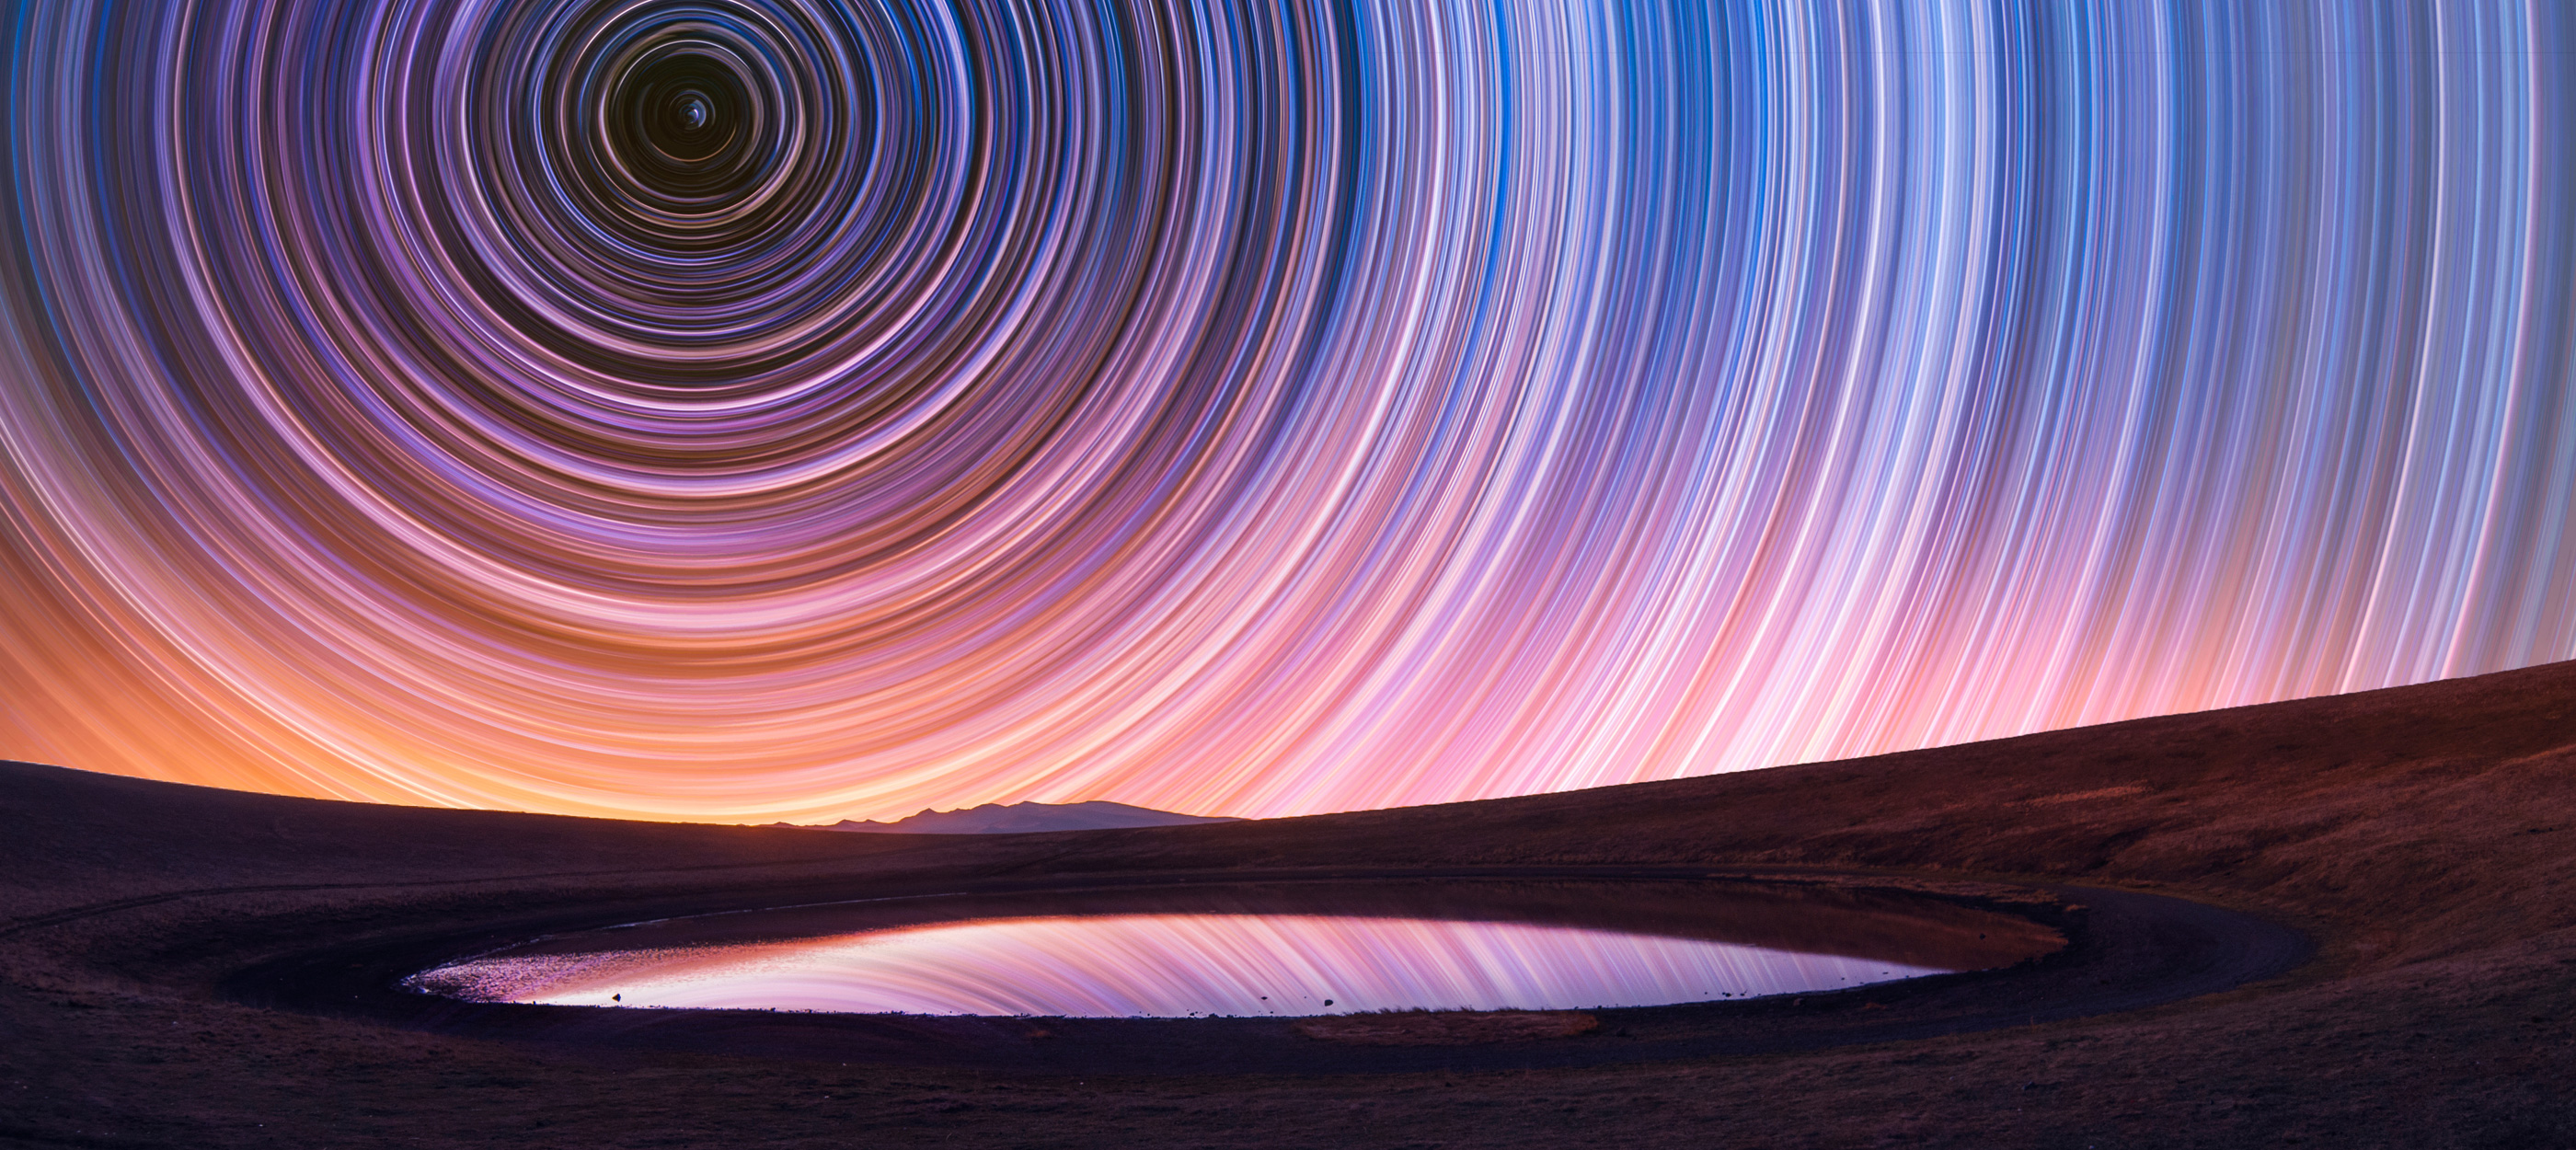
Star trails are beautifully bold photographs that demonstrate the path of stars as they move through the sky during a period of minutes or hours. With these photos, we are able to visually depict the Earth’s rotation, or spin, around its axis.
Capturing star trails can be an incredibly rewarding experience for astrophotographers. This is why we have created a step-by-step guide to help you take stunning images of star trails in the night sky.
1. Choose the right location
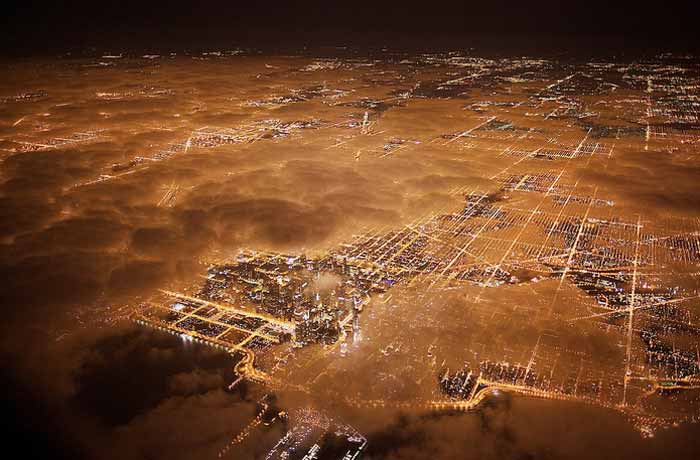
• Find a dark sky location far from city lights to minimize light pollution. International Dark Sky Places are ideal.
2. Check the weather and moon phase
• Clear skies are essential for star trail photography. Use weather apps to check for clear nights.
• Different phases of the moon work well with star trail photography, even full moons. Star trails are a great option when moonlight is too bright for Milky Way photos.
3. Select the right gear
• A DSLR or mirrorless camera with manual settings.
• A wide-angle lens (14-24mm) with a large aperture (f/2.8 or lower).
• A sturdy tripod to keep your camera stable during long exposures.
• A Remote Shutter Release to prevent camera shake.
• An Intervalometer to regulate the number, frequency, and duration of photos taken.
4. Plan your shot
• Use PhotoPills to help you plan the perfect shot by providing tools to scout ideal locations and determine the best times for shooting with minimal light pollution. It can also visualize the composition of your photo using augmented reality and can calculate optimal camera settings.
5. Set up your camera
• Use the widest aperture (smallest f-number) your lens allows.
• Use ISO 1600-6400 depending on the ambient light or moonlight. Use a higher ISO for darker scenes but beware that higher ISOs can cause noise.
• For individual shots, use 20-30 seconds. Alternatively, use bulb mode for longer exposures.
• Manually focus to infinity. Zoom in on a bright star to fine-tune focus.
6. Compose your shot
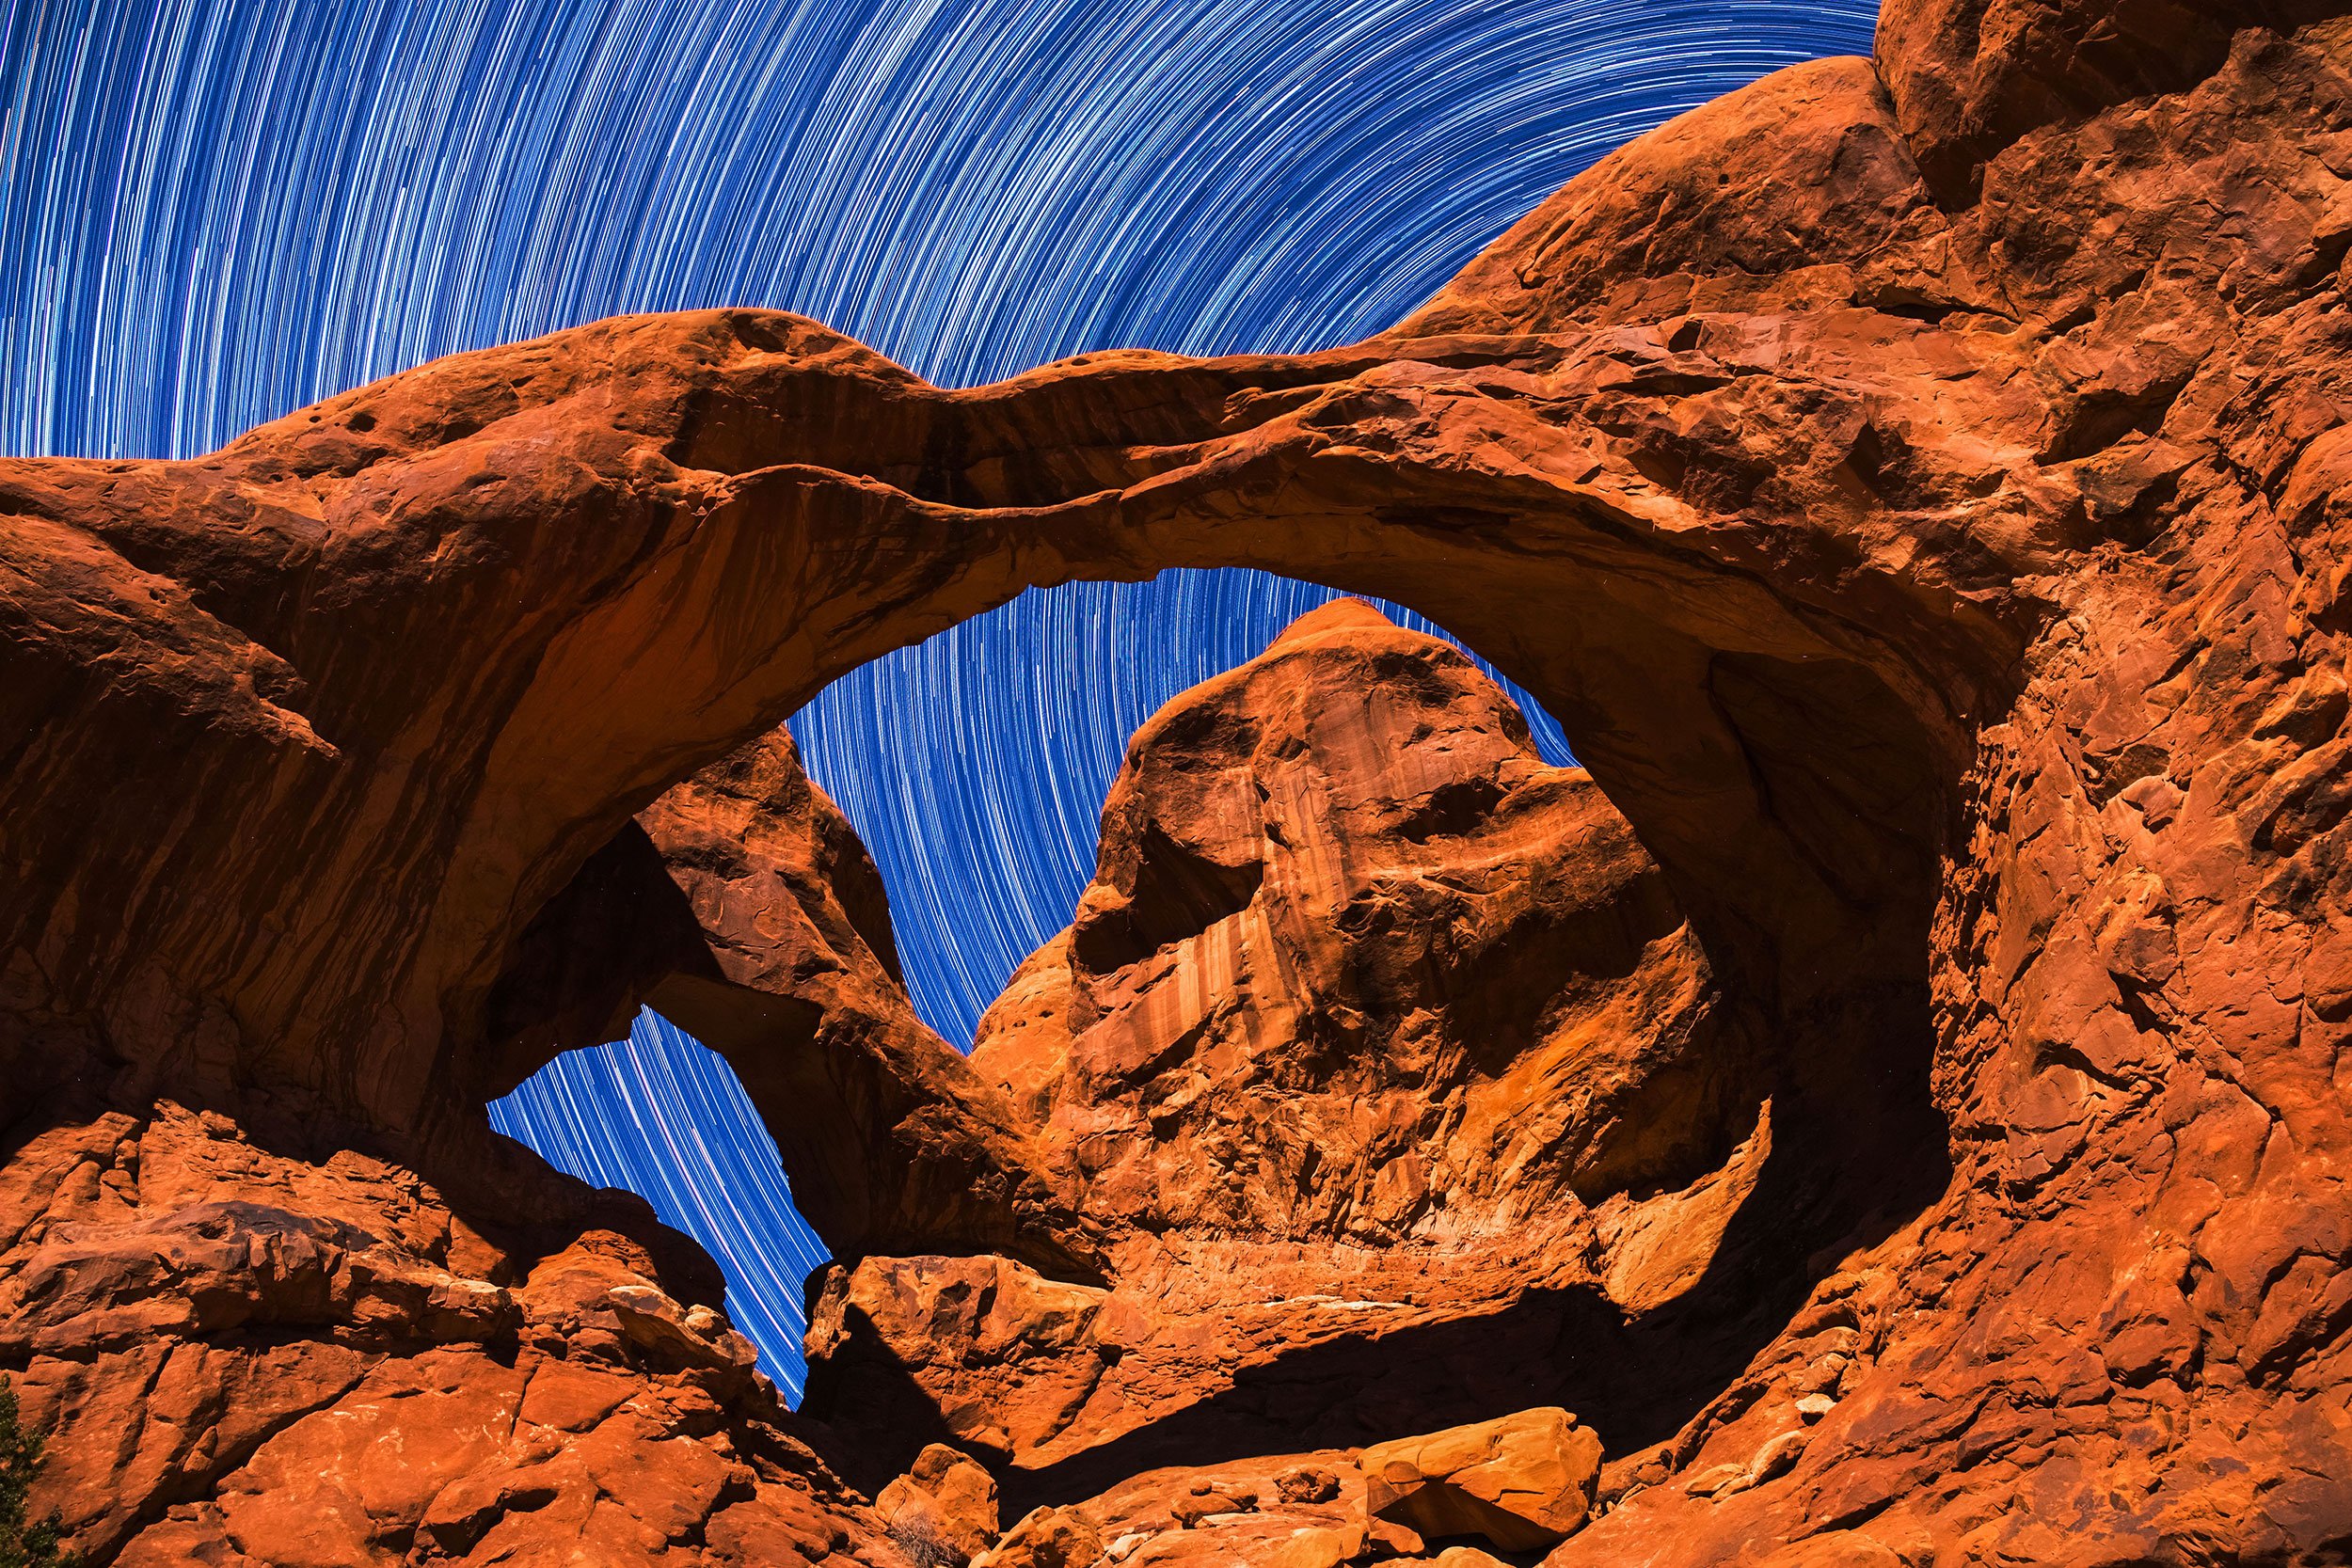
• Include interesting foreground elements, such as trees, mountains, or buildings, to add depth to your image.
• Aim your camera north (in the Northern Hemisphere) and south (in the Southern Hemisphere) to capture circular star trails around the celestial pole. Aiming towards other directions will create large arcs of stars—Play around!
7. Take multiple shots
• For the best results, use an external intervalometer or one built into your camera to take a series of consecutive shots over a few hours. This reduces noise and allows for easier stacking in post-processing.
8. Stack and process your images
• Use software like Photoshop to stack your images and create the star trail effect. A great free program to help you do this is called Star Stax.
• Adjust levels and color balance to enhance your final image. You may need to edit out brighter satellites and planes in each image before stacking.
Additional tips for success
• Have Patience! Star trails require time. Plan to shoot for at least an hour to capture significant movement.
• Experiment! Try different compositions, exposure times, and ISO settings to find what works best for your location and equipment.
• Be Safe! Be aware of your surroundings, especially if you’re in a remote location. Bring a friend or let someone know where you are.
By following these steps, you’ll be well on your way to capturing breathtaking star trails that showcase the beauty of the night sky. Be sure to share your star trail shots with the DarkSky community using #DarkSkyShare
Wishing you happy trails!
….
Related
-
5 Species Threatened by Light Pollution
Light Pollution
Sea turtles live in the ocean but hatch on the beach at night. Hatchlings find their way to the …
-
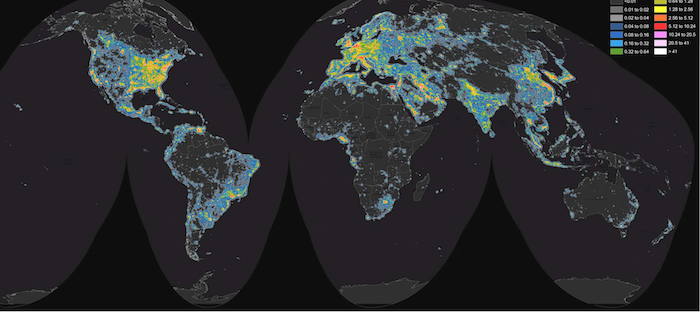
80% of World Population Lives Under Skyglow, New Study Finds
Light Pollution
-
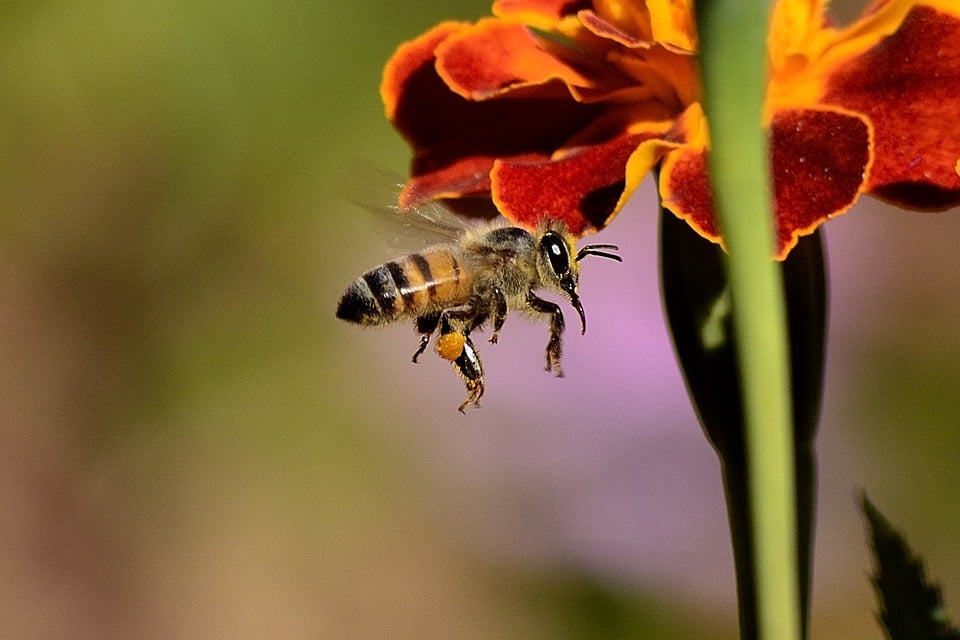
3 Insects Affected by Light Pollution
Light Pollution
Every year we see lots of new research on the effect of artificial light at night on various types …